| CourseLab 3.5. User's Guide |  |
 |
| CourseLab 3.5. User's Guide | |
|
You can add to CourseLab Objects Library customized copies of standard Objects.
LIMITATION. You cannot edit or change CourseLab standard Objects in any way. WebSoft Ltd. shall not be liable for correct work of modified copies of Objects and no support will be provided for these modified Objects.
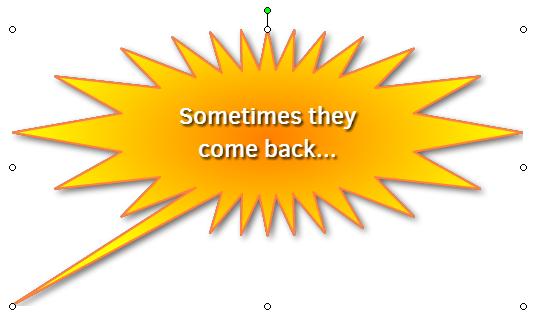
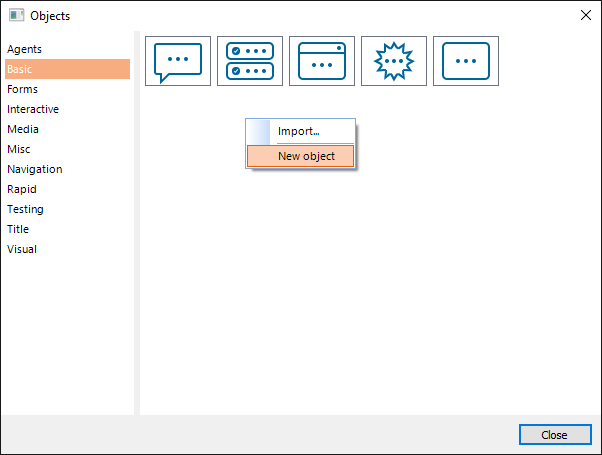
For example, lets make the customized copy of Universal Shape.
Make sure that the Object is displayed correctly: all images are set and visible, texts are displayed without errors.
Keeping this Object selected click Customize link at the bottom of Objects Library pane.
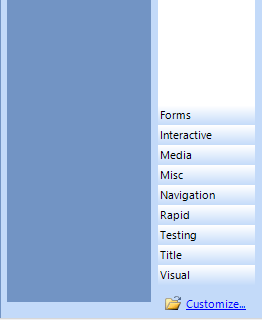
Dialog window with Objects Library structure will be displayed. Note, that it is open exactly on the section, which contains selected Object (Basic in our case). You may create new Object's copy in the same section or in any other section (or even create your own section - right-click on the sections panel).
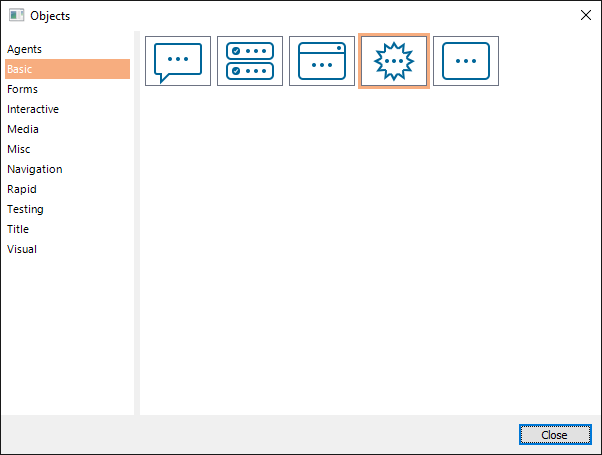
Right click on white space in the Object area and select option.
Specify identifier for new Object copy. It must be unique and consist of Latin characters and numbers (no spaces and special characters).
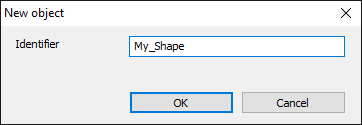
Click OK - new Object's copy is created.
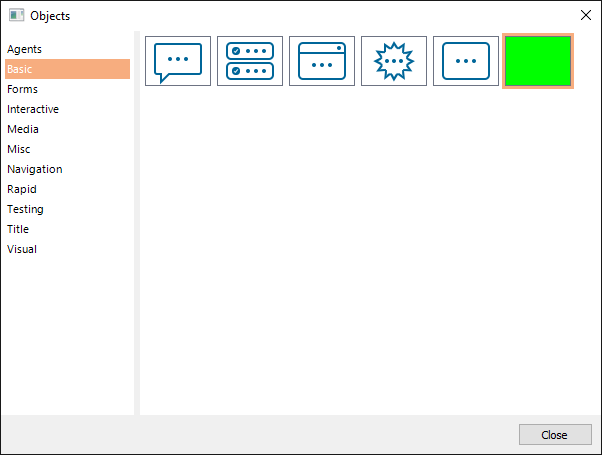
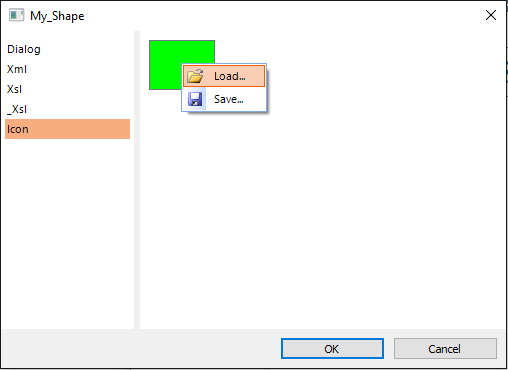
It still has empty green icon. Create desired graphic file for icon (GIF, 64x48 pixels) in your favourite graphic editor. Double-click on the empty green icon to open Object editor window. Select Icon tab. Right-click on the green icon and select option.