| CourseLab 3.5. User's Guide |  |
 |
| CourseLab 3.5. User's Guide | |
|
Besides explicitly specifying object’s display time, there is also an possibility to use visual controls on the Timeline pane.
To show or hide this panel press the toggle button in the group of the View tab, or use keyboard shortcut Alt+2 (in classic menu select .
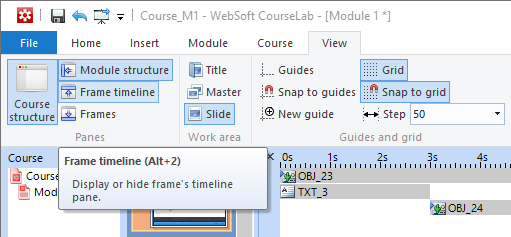
On the top part of the window Timeline panel opens up.
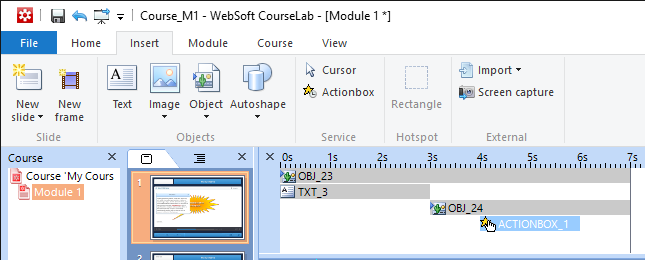
The thin grey colored vertical line represents time limit for the Frame display end time. In case Slide consists of several Frames, at this particular time transition to the next Frame occurs. Frame display time can be modified by dragging grey colored vertical line to the left or to the right along the time scale.
Stripe lines with object’s identifiers in the Timeline panel represent the time duration of the object display. Left boundary of the stripe line represents object display start time. Right boundary of the stripe line represents the time when object will disappear. You can change object display start time and duration of the object display by dragging (using mouse) the borders of the stripe lines or the stripe line itself.
Stripe lines with mouse cursors on it represent the time duration of the cursors movement. The empty spots on the stripe lines represent time during which the cursor remains still.
In case Display click setting is specified in the cursor’s properties, you should define the pause before the next cursor move or before Frame display end time is not less than 0.7 seconds.