| CourseLab 3.5. User's Guide |  |
 |
| CourseLab 3.5. User's Guide | |
|
To interrupt rotation of the object, press Esc key.
It is also possible to rotate several objects at once. Allocation of selected objects in relationship to each other will remain unchanged.
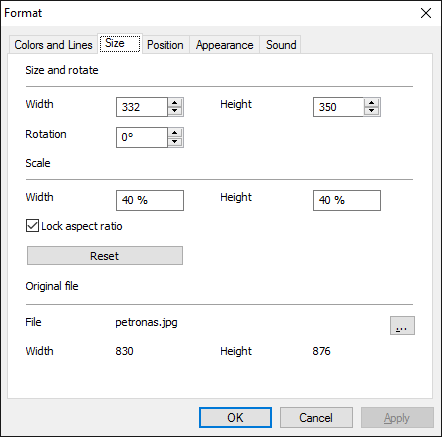
You can also use Format window to specify angle of rotation for several selected Objects. When dialog window is opened, the Rotation field will be populated with the value, only if this value is identical for all selected Objects. If you leave the field empty, angle of rotation will remain unchanged for each Object. If the value is specified, all selected Objects will be rotated by the same angle.
IMPORTANT! The Browser’s capabilities are used for Object rotating when displaying the learning Module. Due to some Browser limitations, the quality of the rotated Object can be affected.